Computer won't turn on? In this material you will find the answer to the question: how to check the computer power supply.
The thesis solution to this problem is in one of our previous articles.
Read about how to check its performance in our article today.
Power supply (PSU) is a secondary power source (the primary source is a socket), the purpose of which is to convert alternating voltage into direct voltage, as well as provide power to computer nodes at a given level.
Thus, the power supply acts as an intermediate link between the electrical network and, accordingly, the performance of the remaining components depends on its serviceability and correct operation.
Causes and symptoms of power supply failure
As a rule, the reasons why power supplies fail can be:
low quality of network voltage (frequent voltage drops in the network, as well as its output beyond the operating range of the power supply unit);
low quality of components and manufacturing in general (this point is relevant for cheap power supplies);
You can determine whether the power supply or some other component has failed by the following signs:
after pressing the power button of the system unit, nothing happens - there is no light or sound indication, the cooling fans do not rotate;
the computer turns on every other time;
Checking the power supply can be done in several ways.
We will talk about the sequence of each check below, but now we will just limit ourselves to short information to understand what we will do.
The essence of the first method is to check the voltage supply and at this stage we perform a rough check whether there is voltage or not.
The second method is to check the output voltage; we have already mentioned that the voltage must be strictly within certain limits and deviation in any direction is unacceptable.
The third method is to visually inspect the power supply for swollen capacitors.
For ease of understanding, the algorithm for each check will be presented in the form of step-by-step instructions.
Checking the power supply voltage
Step 1.
Step 2.
Remember or, for convenience, take a photo of how the power is connected to each of the components (motherboard, hard drives, optical drive, etc.) after which they should be disconnected from the power supply.
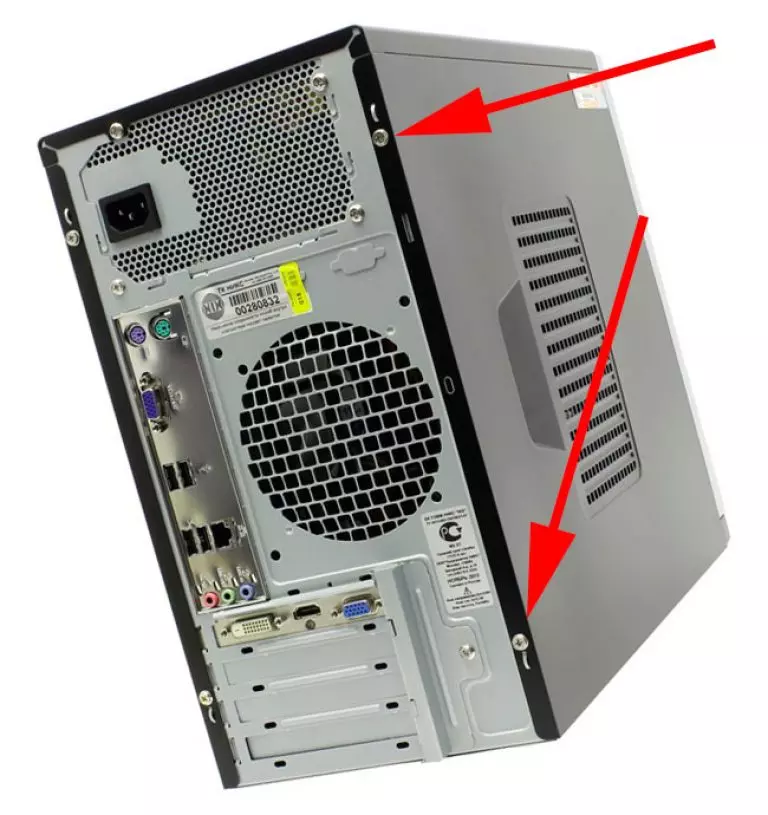
Step 2. Open the side cover of the system unit.
Remember or, for convenience, take a photo of how the power is connected to each of the components (motherboard, hard drives, optical drive, etc.) after which they should be disconnected from the power supply.
Visual inspection of the power supply
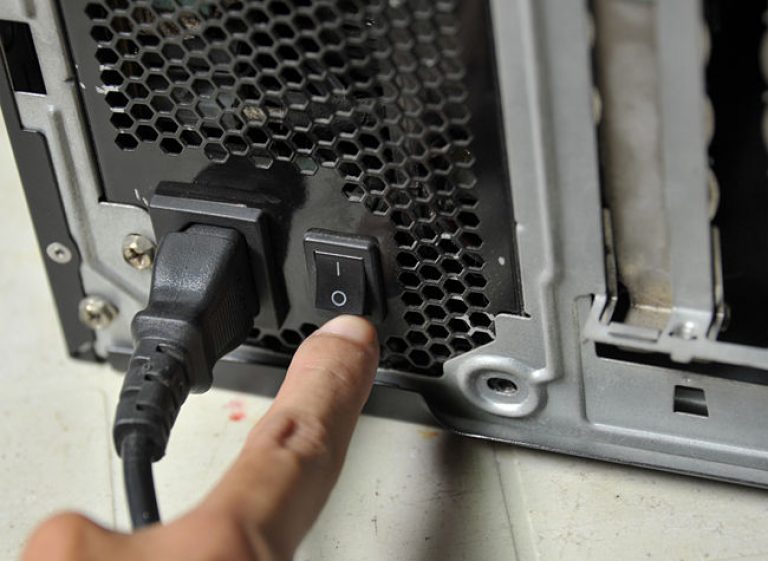
Step 1. Turn off computer. It must be remembered that the computer's power supply operates with a voltage that is dangerous to humans - 220V.
Step 2. Open the side cover of the system unit.
Remember or, for convenience, take a photo of how the power is connected to each of the components (motherboard, hard drives, optical drive, etc.) after which they should be disconnected from the power supply.


